
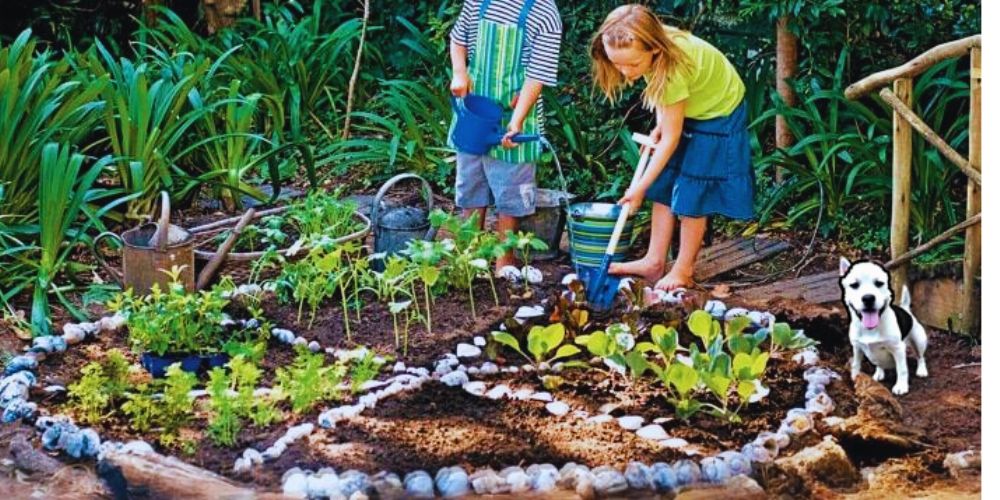
Hey there, little garden artists! 🌱
Ready for some magical Garden Crafts and DIY Projects to sprinkle your garden with joy?
Grab your imagination hats because we’re about to embark on whimsical adventures that will turn your outdoor space into a realm of fun and creativity.
Let’s get those tiny green thumbs moving!
- Pizza Patch
- List Item #2
- List Item #3
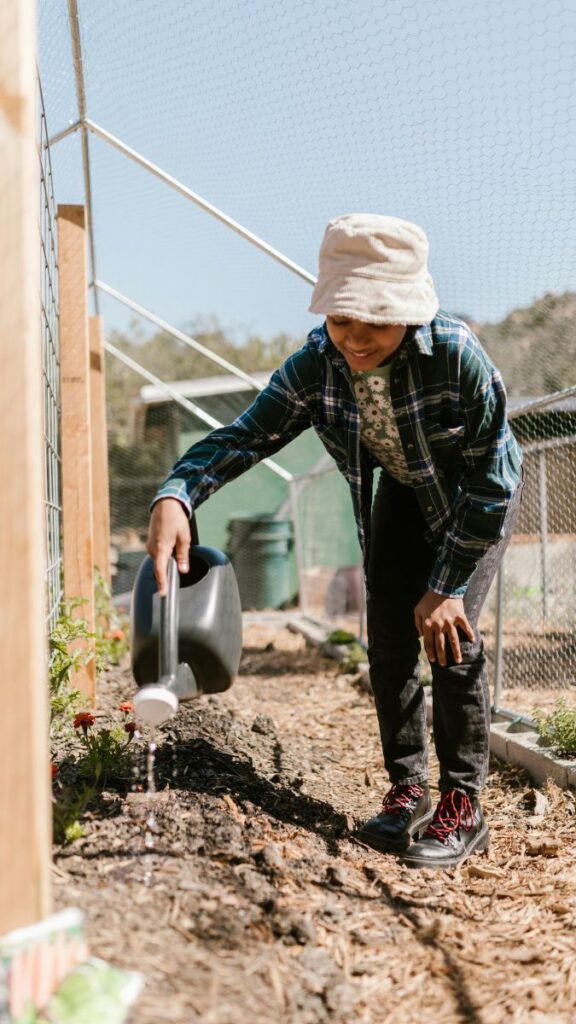
Pizza Patch
Creating a pizza patch in your garden is a fun and interactive way to teach kids about gardening while enjoying the delicious end result. Here’s a step-by-step guide:
Step 1: Plan Your Pizza Patch:
- Choose a sunny spot in your garden or use containers on a sunny balcony. Ensure the chosen area receives at least 6 hours of sunlight daily.
Step 2: Gather Your Pizza Ingredients:
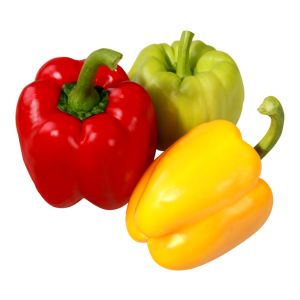
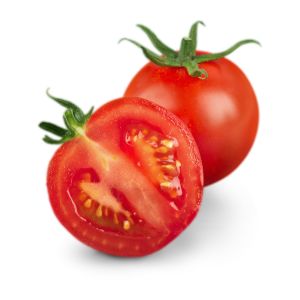
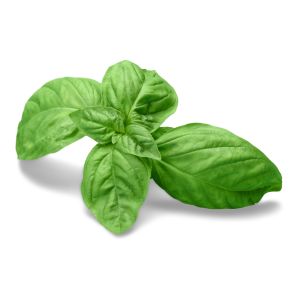
- Identify the key ingredients you’d like to grow for your pizzas. Common choices include tomatoes, basil, oregano, and peppers.
Step 3: Prepare the Soil:
- Ensure your soil is well-draining and rich in organic matter. If using containers, fill them with quality potting mix.
This pizza patch project not only teaches kids about gardening but also offers a tasty reward for their efforts. Enjoy the fruits (and veggies) of your labor in a pizza-making celebration! 🍕🌱
Step 4: Tomato Time:
- Plant tomato varieties suitable for your climate. Dig a hole, place the tomato plant, and cover the roots with soil. Space the plants according to their recommended distance.
Step 5: Basil Bliss:
- Plant basil near the tomatoes. Basil and tomatoes are great companions, and basil adds a fantastic flavor to pizzas. Space the basil plants accordingly.
Step 6: Oregano Oasis:
- Plant oregano in a sunny spot. This herb loves sunlight and well-drained soil. Space the oregano plants as needed.
Step 7: Pepper Power:
- If you’re growing peppers, choose a variety suitable for your taste preferences (sweet or hot). Plant the pepper seeds or seedlings, providing adequate spacing.
This pizza patch project not only teaches kids about gardening but also offers a tasty reward for their efforts. Enjoy the fruits (and veggies) of your labor in a pizza-making celebration! 🍕🌱
Step 8: Mulch and Water:
- Add a layer of mulch around the plants to retain moisture and suppress weeds. Water the pizza patch regularly, ensuring the soil remains consistently moist.
Step 9: Support Your Tomatoes:
- Depending on the tomato variety, you might need to provide support as they grow. Use stakes or tomato cages to keep the plants upright.
Step 10: Harvest Time:
- Once your plants have matured, harvest the ripe tomatoes, basil, oregano, and peppers. Get ready to assemble your garden-fresh pizza!
Bonus Step: Pizza Party!
- Host a pizza party with family or friends. Use the harvested ingredients to create delicious, homegrown pizzas. Let everyone customize their pizza with the fresh produce from your pizza patch.
This pizza patch project not only teaches kids about gardening but also offers a tasty reward for their efforts. Enjoy the fruits (and veggies) of your labor in a pizza-making celebration! 🍕🌱
- Pros:
- Easy and customizable, aiding in plant identification.
- Adds a personal touch to your garden.
- Cons:
- Requires patience while waiting for the paint to dry.
- Difficulty: 🎨